
By Mark Hampson — J26 Productions
Ten practical steps from silence to something you can play for another person
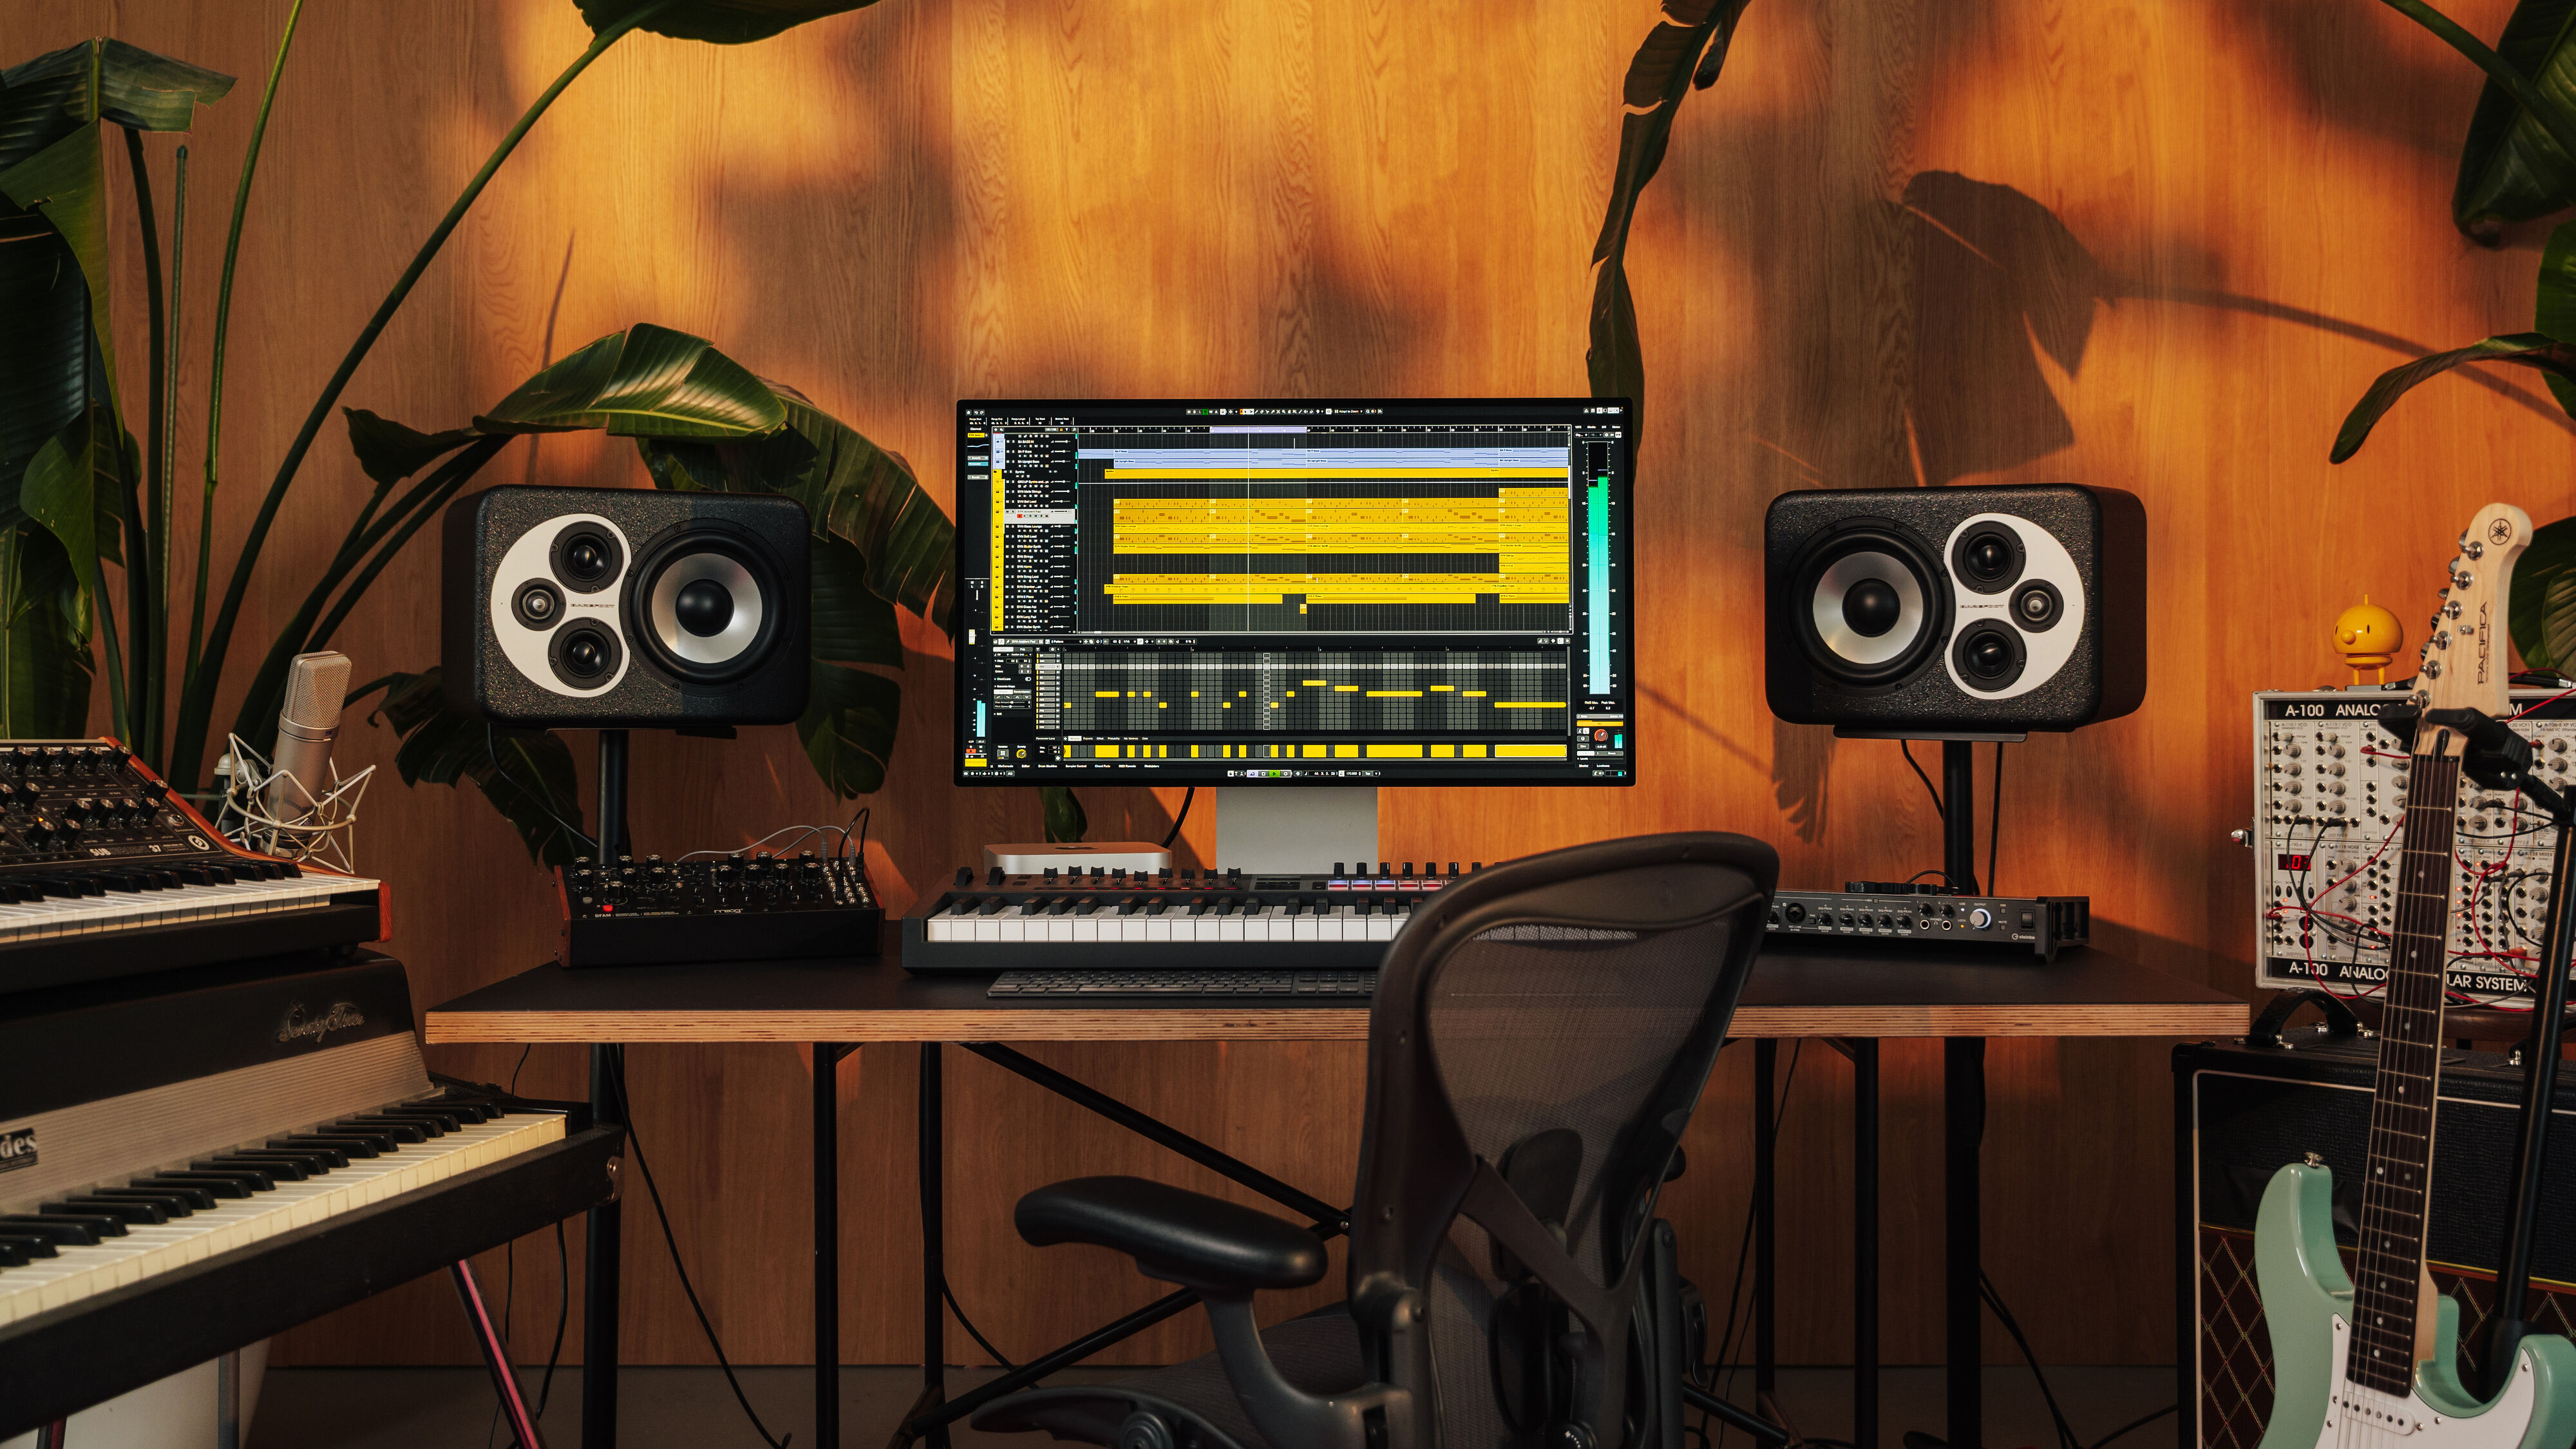
Cubase 15 in a modern music-production studio. Official press image: Steinberg.
An empty project can feel wonderfully open for about thirty seconds. Then the choices begin.
Which instrument should you load? Should the kick come first, or the chords? Is the first eight-bar loop already the chorus? Does the sound need more processing—or does the arrangement simply need to move?
This is usually the point where I go looking for “one better kick” and somehow end up listening to every sample I own. I know I have been there—many, many times.
The difficulty is rarely a lack of tools. Modern Cubase gives us an extraordinary amount of creative and technical control. The real challenge is deciding what matters now and what can safely wait.
I have used Cubase since 1990, and it remains at the centre of the J26 studio. Over that time, the platform has grown from a MIDI sequencer into a complete environment for composition, recording, editing and mixing. My own projects can become detailed, but the beginning of a track still works best when I keep the decisions simple.
This is therefore not a guide to every Cubase feature. It is a practical ten-step route from an empty project to a basic electronic demo mix: something structured, balanced and clear enough to judge away from the excitement of the original session.
The aim is not a finished master. The aim is proof that the musical idea deserves another session.
The J26 rule for this exercise: move forward before you make anything perfect.
The demonstration brief
For this walkthrough, I build a fresh 60–90-second electronic demo using Cubase's included tools wherever practical. The exact sounds can change, but the working limits remain deliberately clear:
- one tempo and one musical key,
- one drum foundation,
- one bass sound,
- one chord or atmosphere layer,
- one recognisable hook,
- one short arrangement with a beginning, development and payoff,
- one basic stereo demo mix.
Those limits are not rules for making records. They are a way of stopping an empty project from becoming an empty afternoon.
If choosing the first move is already the problem, the free J26 Finish Your Next Track Checklist provides a short reset before opening the project.
Optional tools around the workflow
None of this hardware is required to follow the ten steps, and I would always begin with the equipment you already own. If one part of your setup is genuinely holding you back, these are practical places to start:
- Korg nanoKEY Studio — compact MIDI controller (Amazon affiliate link)
- Audio-Technica ATH-M50x — closed-back monitoring headphones (Amazon affiliate link)
- SanDisk Extreme Portable SSD — portable project storage (Amazon affiliate link)
As an Amazon Associate I earn from qualifying purchases. J26 may receive a commission if you buy through these links, at no additional cost to you. Prices and availability are set by Amazon and can change, the links open current UK search results rather than implying one compulsory model or seller.
1. Give the empty project a job
Before loading an instrument, decide what this session must prove.
For this demonstration, the job is not “make a finished track”. It is:
Build a short electronic idea with a drum groove, bass relationship, harmonic identity, hook and enough arrangement to judge the direction.
In Cubase, create an empty project in a dedicated project folder and save it immediately with a useful version name. I prefer names that show the track, stage and revision rather than files such as New Project 7.
For example:
J26_Cubase_Demo_126BPM_v01
It is not the most exciting creative decision of the day, I know, but it is still better than opening final_final_REALLYfinal_3 three weeks later and hoping for the best.
Set the tempo and time signature, check the project audio settings, and establish an eight-bar cycle. The demonstration can begin at 126 BPM in 4/4, but the number matters less than making a decision and hearing how it feels.
I also create and name the tracks I know I will need: drums, bass, chords, lead, effects and reference. Naming and colouring them now takes seconds and makes later decisions much easier to see.
Cubase 15's redesigned Hub can help with initial project location, folder naming and audio setup, but a saved personal starting template is equally useful once your routing is settled. The important thing is that the technical setup supports the session rather than becoming the session.
Otherwise, I can spend twenty minutes beautifully organising a project that still contains absolutely no music. Very tidy, but not much use to anybody.
What step one must prove: the project has a clear purpose, location, tempo and first working area.
2. Build the drum foundation
The first musical layer should establish movement without demanding a complete arrangement.
For a house-led J26 demonstration, I begin with a four-on-the-floor kick, then add a clap or snare, closed and open hi-hats, and one small percussion detail. Cubase includes several valid starting points, including Groove Agent SE and the newer Drum Machine kits. Audio samples on the project timeline work just as well if that is the faster route.
Whichever sound source I use, I set out every important percussion instrument on its own track from the beginning: kick, snare, clap, hats and additional percussion. I do not treat the whole kit as one combined audio part. That separation gives me direct control over the level, EQ, dynamics and effects of every sound, and it makes individual parts much easier to mute, arrange or replace later.
The individual drum channels can still feed a shared drum group when I want overall level control or collective processing. Steinberg's guide to adding group and effect channels shows the current Cubase 15 route. The difference is that the group sits above the separate sounds, it does not remove the control beneath it. Keeping the kick independent is particularly important because I will also use that channel as the trigger for the bass sidechain in the next step.
The point is not to construct the final drum production. It is to answer three questions:
- Where is the main pulse?
- Where does the groove lift or lean?
- Is there enough space for the bass?
I keep the first pattern simple and listen to it for several cycles. If it only feels alive after six extra percussion tracks and a large effects chain, the foundation may not yet be doing its job.
There is nothing wrong with six extra percussion tracks later. I simply want each one to earn its place rather than arriving because I found another shaker and felt sorry for it.
Name and colour the individual parts clearly, create a drum group if it is useful, and leave comfortable level below the main output ceiling. It is much easier to build into available headroom than to repair a project in which every channel began too loud.
What step two must prove: the track has a pulse that works before decorative percussion arrives, while every core drum sound remains independently controllable.
3. Make the bass answer the kick
The bass does not need to be complicated. It needs a relationship with the drums.
Load one included Cubase instrument or another familiar, properly licensed sound source. Begin with a restrained patch that makes the rhythm easy to hear. A spectacular preset can disguise a weak part, a simple bass makes the musical decision obvious.
I first place the bass notes around the kick rather than treating the two parts independently. That may mean leaving the downbeat open, using an off-beat pattern, holding a longer note across part of the bar or creating a short call-and-response rhythm.
Once that musical relationship works, the independent kick track takes on a second role: it drives the sidechain on the bass channel. I place a sidechain-capable dynamics processor on the bass, activate its external sidechain input and add the kick as the source in Cubase's Side-Chain Routing panel. Each kick then briefly reduces the bass level before the bass rises back into the space around it.
The threshold, amount, attack and release decide whether the result is almost invisible or becomes the pronounced, rhythmic pulse associated with club-focused house and EDM. For this J26 demonstration, I want the effect to be clearly felt without making the bass disappear. I set the return by ear against the tempo so the bass breathes with the kick and helps the whole groove move.
I want the bass to duck neatly around the kick, not dive for cover every time the kick enters the room.
Sidechaining is part of the sound here, but it does not rescue a weak relationship. If the kick and bass are fighting before the compressor is active, I still change the notes, rhythm, octave or sound choice first. The sidechain then strengthens a groove that already makes musical sense.
Quantisation can tighten the part, but it should not automatically remove every useful push or delay. Cubase's Key Editor makes it easy to compare the strict grid with the feel of the recorded or programmed phrase.
What step three must prove: the low end has one understandable rhythmic idea, and the kick-driven sidechain turns that relationship into a controlled club pulse.
4. Establish the harmonic identity
Next, give the track a place to live harmonically.
This might be a four-chord progression, a two-chord movement, a sustained pad or even one tonal centre with changing voicings. The choice depends on the track, but the function is the same: the bass and future hook need musical context.
When I already hear the progression, I record or draw it directly onto an instrument track. When I want to explore alternatives, Cubase's Chord Pads provide a quick way to test chords, voicings and tensions. Steinberg's current documentation confirms that chord-pad performances can also be recorded onto MIDI or instrument tracks.
I keep the sound supportive at first—a piano, pad, stab or simple synth patch—because the progression must survive without a large preset doing all the emotional work.
If the preset is doing all the emotional work for me, then really I am just sat there supervising it.
That can sound impressive for ten minutes, of course. Then I try changing one chord and discover the preset was actually the most talented person in the studio.
Then I listen again to the kick, bass and harmony together. If those three layers already suggest a direction, the project has a real foundation.
What step four must prove: the track has a recognisable musical mood.
5. Write one hook people can remember
A demo does not need five lead ideas. It needs one reason to press play again.
The hook might be a three-note synth phrase, a vocal fragment, a rhythmic stab or a short melodic question answered by another sound. I begin with the smallest version of it and test its rhythm before adding layers.
Useful limitations include:
- keep the phrase within one octave,
- use three to five important notes,
- leave at least one obvious gap,
- repeat it enough to become familiar, then alter one detail.
Cubase's Key Editor can take the part much further, but detailed expression only helps after the phrase itself works. Its note grid and controller lanes make the melody and its dynamics visible together. I audition the hook against the full loop, mute the chords, and then listen with only drums and bass. A strong hook should keep some identity in each context.
This is also the moment to ask whether the track's strongest idea is actually the chord sound or bass rhythm rather than a separate lead. If so, do not add a hook merely because a checklist says one is missing.
Nobody gives us extra points for fitting the greatest possible number of lead parts into sixty seconds.
If I cannot tell which one I am supposed to hum afterwards, the listener has got no chance.
What step five must prove: the listener has something to recognise when it returns.
6. Escape the eight-bar loop
Once the core loop works, duplicate it into a short arrangement before improving the sounds.
For a 60–90-second demonstration, I would build roughly five sections:
- Introduction — establish pulse and tone.
- Lift — reveal more of the bass or harmony.
- Main idea — present the hook clearly.
- Break or reset — remove energy and create contrast.
- Return — bring the central idea back with one meaningful change.
A Marker Track makes that structure visible. Steinberg's Cubase 15 Marker Track guide explains how position and cycle markers can organise and navigate sections of a project.
I do not try to make every section unique. Instead, I change one or two musical facts at a time: remove the kick, shorten the bass, open the harmony, delay the hook, or introduce a new percussion voice.
Arrangement is controlled information. If everything arrives in the first eight bars, the listener has nowhere to go.
Copying the same eight-bar loop another sixty-four times definitely makes the project longer. Sadly, it still does not make it an arrangement—I have tried.
The J26 Finish Your Track Workbook includes arrangement mapping and section-purpose prompts for producers who repeatedly build strong loops but struggle to turn them into complete records.
What step six must prove: the idea can create contrast and direction beyond its original loop.
7. Add movement, not clutter
Transitions should help the listener understand the arrangement. They should not become a separate special-effects collection.
Nobody has ever asked me how many risers I managed to fit into a project, and I would quite like to keep it that way.
One riser can tell us that something exciting is about to happen. Seven risers mainly tell us that I have recently discovered the riser folder.
For this demo, I use a small number of moves:
- filter automation to open or close a musical layer,
- a short rise, reverse sound or cymbal at a major section change,
- reverb or delay that expands at the end of a phrase,
- a brief drum fill or silence before the main return.
Cubase automation uses Read and Write controls on tracks and MixConsole channels. Steinberg's automation documentation confirms that Read plays existing automation and Write records supported parameter changes during playback.
I normally draw or record one move, then listen without watching the screen. If the transition communicates clearly, it stays. If it only looks impressive as a line on an automation lane, it probably does not need to be there.
What step seven must prove: the listener can feel when the track enters a new section.
8. Balance the track before fixing it
Before reaching for EQ or compression, I use the faders.
I pull the channels down, establish the kick at a sensible reference point, then bring in bass, harmony, hook and supporting elements one at a time. This makes masking easier to hear and protects the main output from accidental clipping.
I also pan supporting parts where the arrangement allows it, check the demo quietly, and listen briefly in mono. Low-volume listening reveals whether the hook and rhythm remain understandable, mono can expose parts that depend too heavily on width or phase relationships.
There is no universal fader position or compulsory peak target that makes a demo professional. The practical requirements are simpler:
- the main output must not clip,
- the important idea must be easy to identify,
- the kick and bass must not obscure one another,
- supporting layers must support.
If the balance only works after every channel receives a plug-in, I return to the arrangement and sound choices.
Sometimes the best plug-in is no plug-in at all. If the channel already sounds right, I am quite happy to leave it alone.
Nobody listening to the track is going to stop halfway through and ask whether every channel received equal access to the plug-in collection.
What step eight must prove: the track communicates with level and placement alone.
9. Create a basic demo mix
Now I make a limited processing pass. This is not mastering, and it is not permission to spend an hour perfecting a hi-hat that may later be replaced.
Nobody is going to rescue an unfinished track by saying, “Shame about the arrangement, but what an absolutely magnificent hi-hat.”
I divide the pass into three questions.
Is the low end controlled?
I remove unnecessary low-frequency content from parts that do not need it, compare kick and bass in context, and use compression or dynamic control only when the performance or sound requires it.
Is the middle clear?
The chord sound, hook and any vocal or sample must have distinct jobs. I use small EQ or level changes before dramatic processing and check whether one part can simply play less.
Does the space support the arrangement?
One or two shared effect channels can make the demo feel connected. Sends also make it easier to control the amount of reverb or delay across several sounds without loading a different effect onto every channel.
I compare the processed and unprocessed versions at sensible listening levels. Louder nearly always appears more exciting, so bypass comparisons are only meaningful when the level difference is not making the decision for me.
The J26 Producer Progress Pack provides an editable track pipeline, revision log and feedback log for carrying a promising demo into later production sessions without losing the decisions already made.
What step nine must prove: the demo is clear enough to judge without pretending it is finished.
10. Export, leave the studio, and listen again
A demo trapped inside Cubase is still only a session.
Set the left and right locators around the complete arrangement, including space for any final effect tail. Check that the intended channels are playing, unwanted parts are muted, automation Read is active where required, and the mix reaches the correct main stereo output.
Steinberg's official Audio Mixdown instructions for Cubase 15 specify the same essentials: a valid locator or cycle-marker range, the required tracks and MixConsole settings, a selected output channel, file location, name and format. If no main output bus is selected, the export can contain silence.
For a working demo, I normally create:
- a stereo WAV at the project's sample rate and an appropriate working bit depth,
- an MP3 only when a small, easily shared listening copy is useful,
- a clear versioned filename rather than
final_final_2.
For example:
J26_Cubase_Demo_v01_2026-08-21.wav
Cubase 15 also includes Quick Audio Export for a fast Wave or MP3 mix of the Main Mix across the project range. The full Audio Mixdown window remains the better teaching route because it makes the export range, selected channel and format choices visible.
Then comes what I call the full J26 listening tour—and yes, it is also a perfectly good excuse to hear the track loudly again.
What I normally do is take the export straight out to the parked car and play it through the car system several times—loudly enough to feel whether the groove has the club energy I intended. And I do mean several times. The first play is usually me enjoying it and feeling pleased that I have actually got this far. By the second or third, I start noticing whether the kick, bass and hook still make sense outside the studio.
I then listen through my in-ear headphones, followed by my over-ear headphones, and finally through the phone speaker. I know that probably sounds excessive, but every option tells me something different. The car exposes the weight and physical pulse. The headphones reveal detail and width. The phone is brutally honest about whether the main musical idea survives without much low end at all.
I will often repeat those listens too, because what excites me on the first play is not always what I notice after the fourth. The important thing is that I do not start trying to rebuild the mix in every location. I make a note of the problems that keep coming back, return to Cubase, and give myself no more than three clear next actions.
That final limit matters. A useful demo should create direction, not an unstructured list of everything that could ever be changed.
What step ten must prove: the idea survives outside the session and has a clear next move.
The complete ten-step map
| Step | Decision | Proof of progress |
|---|---|---|
| 1 | Define the session | Saved project, tempo, cycle and named tracks |
| 2 | Establish pulse | A drum groove that works without decoration |
| 3 | Connect kick and bass | One clear low-end relationship |
| 4 | Establish harmony | A recognisable mood or tonal centre |
| 5 | Write the hook | One idea worth hearing again |
| 6 | Arrange the loop | A beginning, development, contrast and return |
| 7 | Create movement | Transitions that explain the structure |
| 8 | Balance first | A readable mix without corrective over-processing |
| 9 | Make the demo clear | Controlled low end, middle and shared space |
| 10 | Export and review | A playable file and three next actions |
What I deliberately leave for later
This first demo does not need final sound design, detailed vocal production, mastering, perfect automation, a complete club arrangement or twenty alternate versions whose differences even I can no longer explain.
Those stages may become important, but only after the central idea survives the first export.
The distinction between a demo and a release candidate protects the creative process. It lets me test the track's identity before investing hours in details that might belong to a different arrangement—or a different track entirely.
The J26 takeaway
Cubase can be extraordinarily deep, but depth is most useful when the project has direction.
The ten steps are therefore not a claim that every track should be made in the same way. They are a decision ladder. Each stage asks the music to prove one more thing before the production becomes more complicated.
An empty project becomes a groove. The groove gains a low-end relationship. Harmony gives it identity. A hook gives it memory. Arrangement creates direction. Balance and a limited mix make the idea portable.
Then the exported demo tells you what the excited producer inside the session could not: whether you genuinely want to hear what happens next.
Yes, there is hard work in the process, and sometimes one stubborn four-bar problem takes far longer than I would ever like to admit. But we are still making music, and it should be enjoyable. Hearing an idea come alive is the whole reason I keep doing it. For me, a useful workflow gives the session enough structure to keep moving without taking away the fun that made me open Cubase in the first place.
What comes next: turn the demo into a club banger
The ten-step demo gets us safely out of the empty-project danger zone. It proves that the groove, musical identity and arrangement are worth taking further. The next stage is where we stop being quite so polite with it.
In the follow-up J26 walkthrough, I will take this same basic demo deeper: tightening the groove, improving sound selection and layering, developing the build and drop, adding purposeful automation, controlling the low end and checking the production against a suitable reference track. That is the point where a clear idea starts becoming a proper club-focused production rather than simply a longer, louder demo.
Using the same project means you will be able to see exactly what changes, what stays and why. It also gives us a natural route from this article into the accompanying YouTube session and a more detailed Inside the J26 Studio feature for the J26 Journal—one track, followed honestly from the first kick through to the serious production work.
For now, though, the job is simpler: finish the demo, export it and decide whether you are excited enough to come back tomorrow. If the answer is yes, then we have done exactly what these ten steps were meant to do.
Frequently asked questions
Can a complete Cubase track really be made in ten steps?
The ten steps describe stages of decision-making, not ten mouse clicks. They can produce a structured demo quickly, but a release-ready production may require further writing, recording, editing, mixing, feedback and mastering. The purpose is to keep the early process moving.
Do I need Cubase Pro for this workflow?
The core route—project setup, instrument or audio tracks, MIDI editing, arrangement, balancing and stereo export—can be adapted across current Cubase editions. Exact instruments, effects, limits and advanced features vary, so check Steinberg's current feature comparison for the edition you use.
Should drums or chords come first?
Begin with the element that makes the track easiest to judge. Drums are a natural starting point for this electronic demonstration, but a strong chord progression, sample or vocal can define the track first. The sequence is a practical route, not a creative law.
What is the difference between a demo mix and a final mix?
A demo mix makes the song, groove and arrangement clear enough to assess and share selectively. A final mix normally follows completed production and involves more detailed balance, automation, translation checks, delivery preparation and revision.
Why export before the track is finished?
Listening outside the DAW removes visual distraction and changes the context. It often makes arrangement problems, weak hooks and level imbalances easier to recognise. A versioned export also preserves progress and creates a clear point for feedback.
Continue the workflow with J26
- Explore Cubase Artist 15 through the J26 Shop
- Start free with the Finish Your Next Track Checklist
- Use the Finish Your Track Workbook for arrangement and mixdown decisions
- Connect track completion and release planning with the Complete Creator Toolkit Bundle
- Track projects, revisions and feedback with the Producer Progress Pack
- Explore the complete J26 Shop
J26 editorial note: Cubase Artist 15 is linked through J26’s approved Plugin Boutique affiliate account. The optional equipment links above use J26’s Amazon Associates tracking. J26 Productions Ltd may receive a commission from a qualifying purchase, at no additional cost to the reader. The J26 tools are original creator products. The article is designed to be useful without purchasing anything, and the free checklist provides the complete entry point to the workflow.
Official Cubase references
- Cubase 15 features and current edition information — Steinberg
- Cubase 15 new features — Steinberg
- Cubase Hub and project-location setup — Steinberg Help
- Adding Group and Effect Channels — Steinberg Help
- Side-Chain Routing — Steinberg Help
- Using Chord Pads — Steinberg Help
- Key Editor — Steinberg Help
- Marker Track — Steinberg Help
- Write and Read Automation — Steinberg Help
- Mixing Down to Audio Files — Steinberg Help
- Quick Audio Export — Steinberg Help